Q&A
You can calibrate the control sticks as detailed below.
If one or more of your control sticks isn't operating as usual, the problem may be resolved by calibration.
Control stick calibration steps
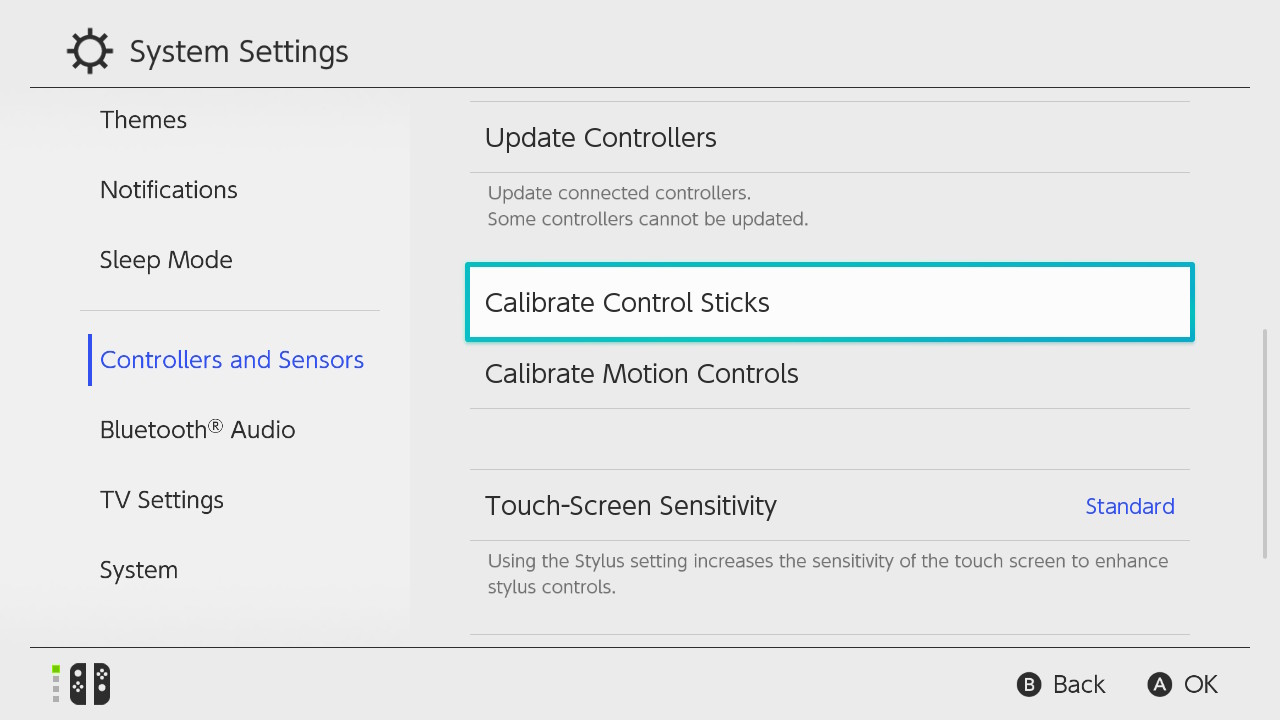
1. From the HOME Menu, select "System Settings" → "Controllers and Sensors" → "Calibrate Control Sticks".
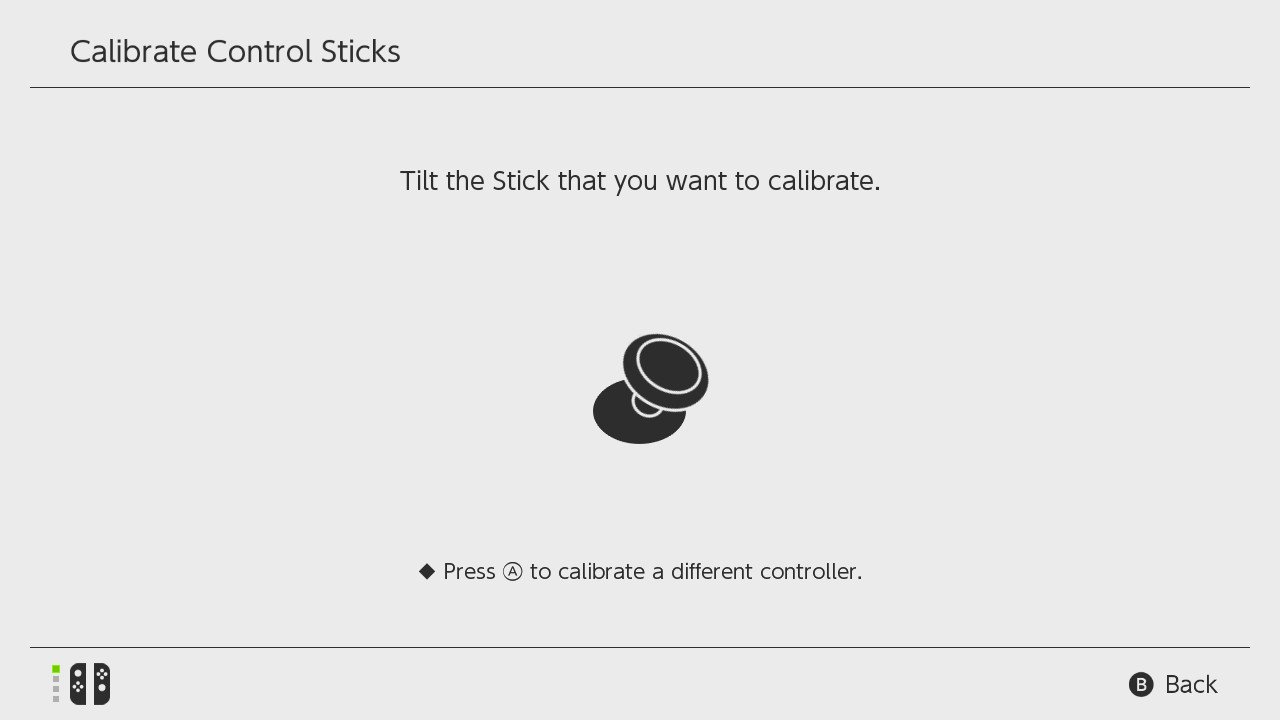
2. Tilt the control stick in any direction for a few seconds on the controller you want to calibrate.
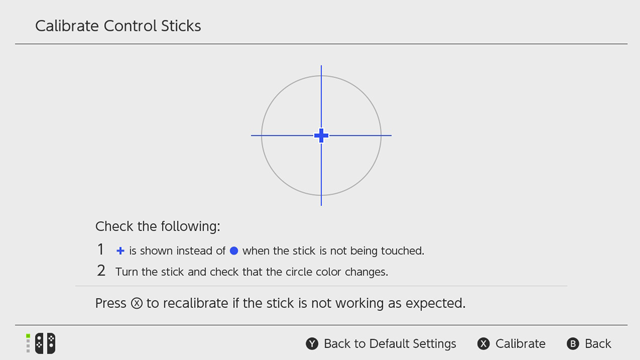
3. Check the stick response.
Follow the on-screen instructions to check the stick response. If it's not as expected, press the X Button ("Calibrate").
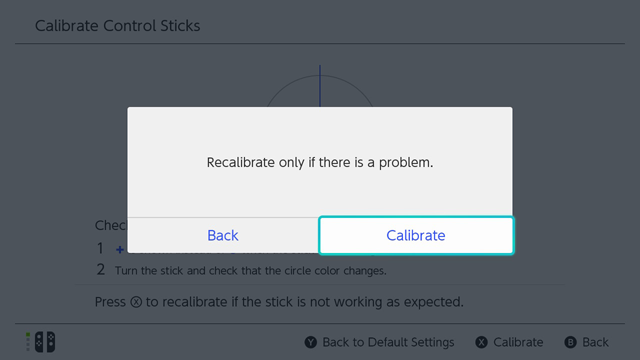
4. Select "Calibrate" to start the calibration process.
5. Follow the on-screen instructions that will guide you through the calibration process.
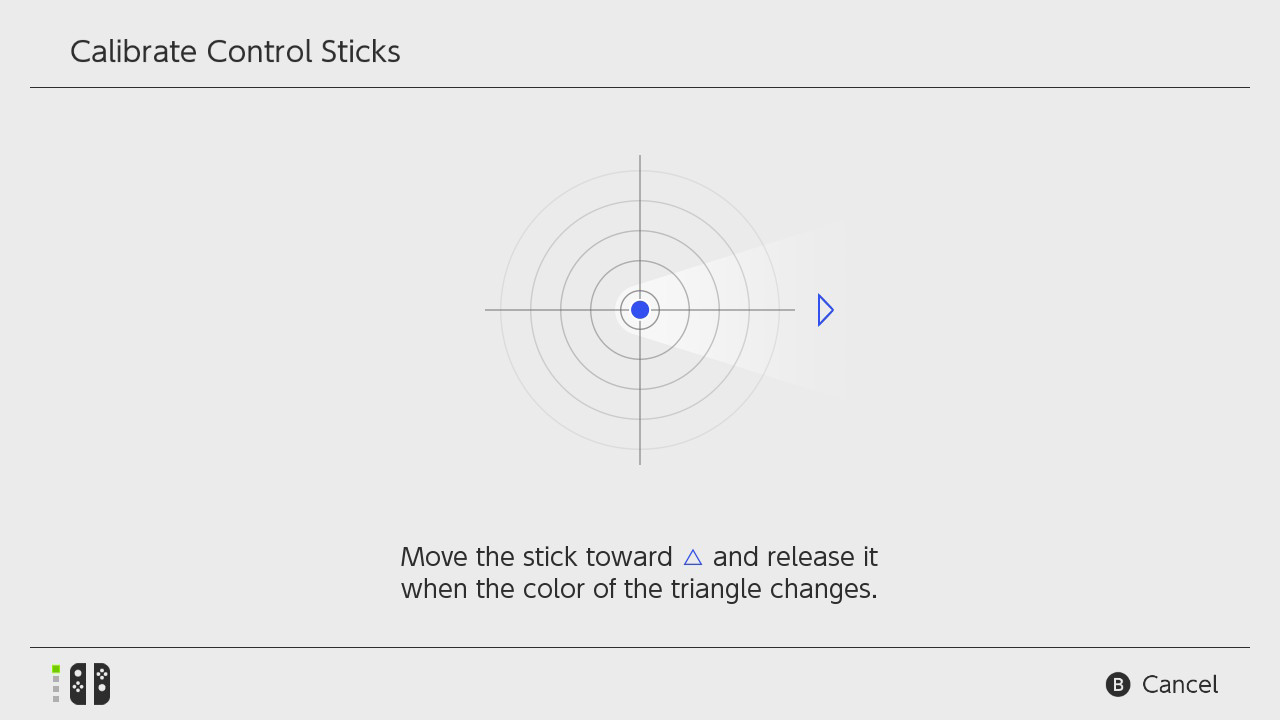
Push the stick in the direction indicated by the arrow, releasing it when the arrow changes to blue. Repeat this process for right → down → left → up, then continue onto the next screen.
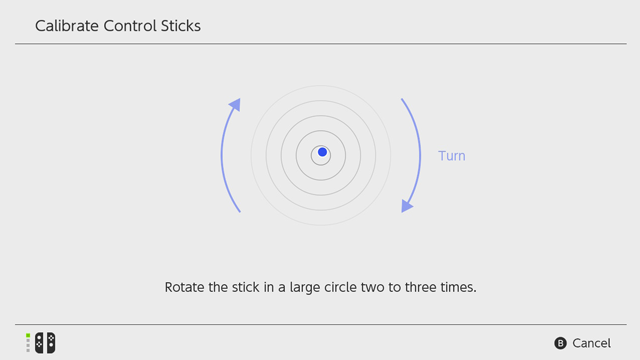
Rotate the stick at full deflection. After two or three rotations, this part is complete.
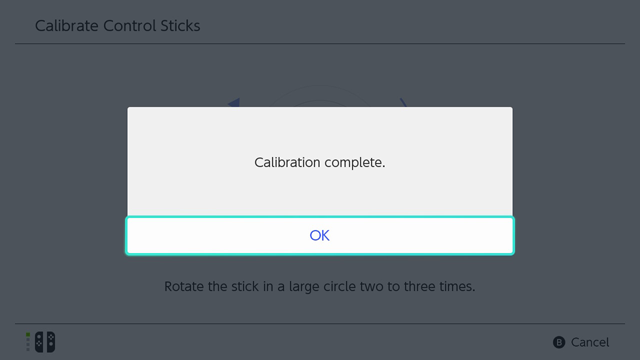
When the following screen appears, calibration is complete.
Be careful to follow the procedure correctly or the calibration may lead to the stick responding strangely.
If you accidentally calibrate the stick incorrectly, press the Y Button ("Back to Default Settings") at the screen shown in step 3, then try the calibration again.
If the stick fails to respond correctly even after calibration, or if you're unable to complete the calibration process, it's possible that your controller or Nintendo Switch Lite system has a fault. Please contact your local customer service centre.