How to Connect to a Wireless Network
Description:
Information on connecting a Nintendo Switch console to a wireless home network
Additional Information:
Before continuing, it is recommended that you verify the following information for the wireless network:
Complete These Steps:
- Place the Nintendo Switch console within 3 metres (10 feet) of the wireless router to ensure a strong wireless signal.
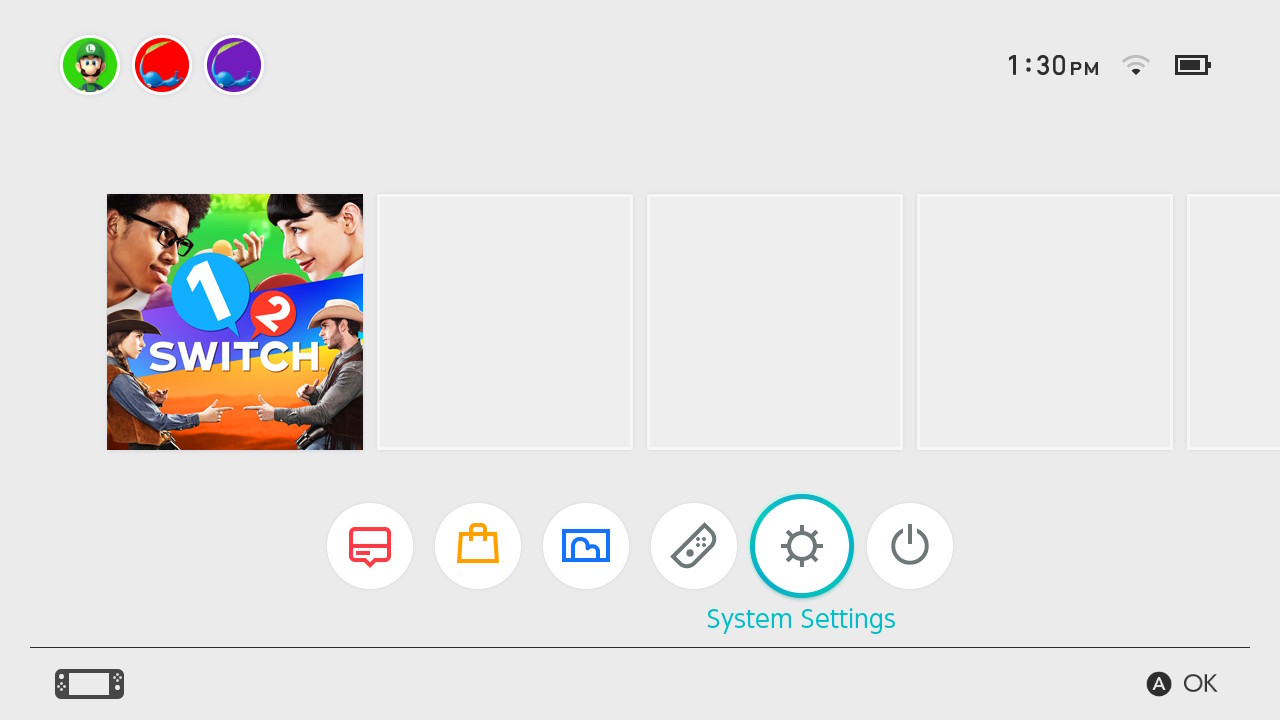
- On the Nintendo Switch console, select "System Settings" from the HOME Menu.

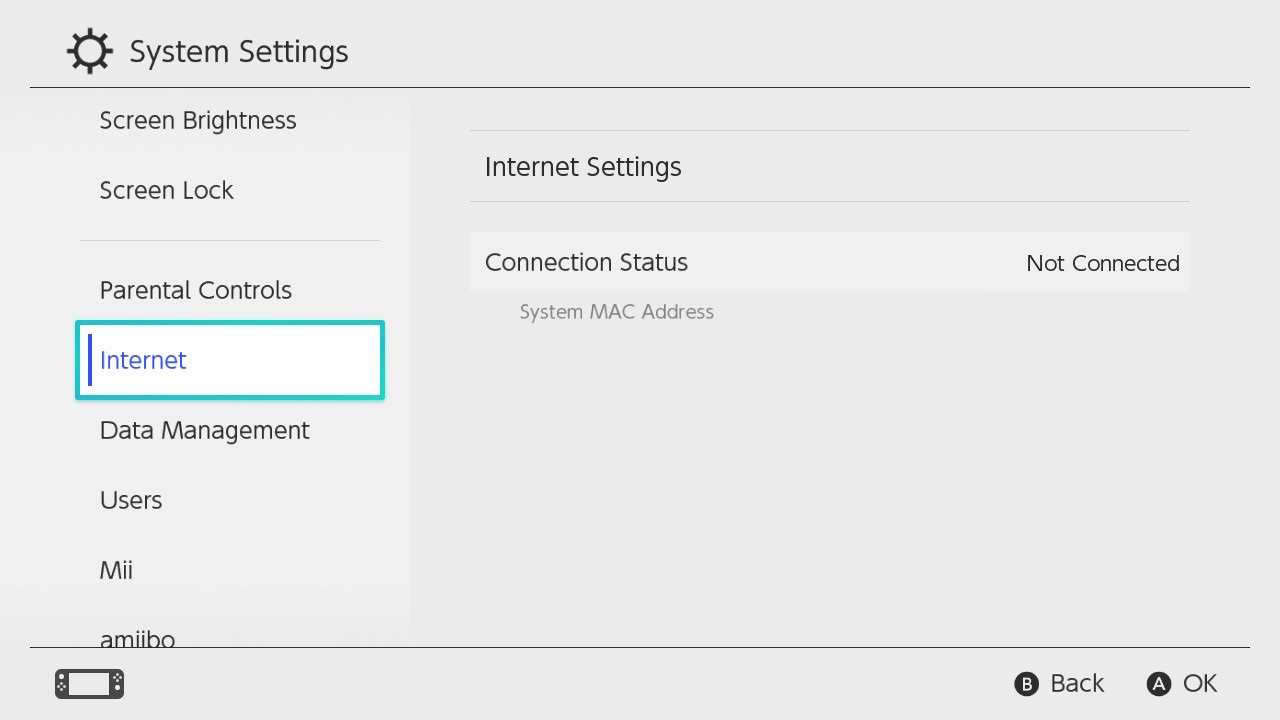
- Select “Internet”, and then “Internet Settings”.

- The Nintendo Switch console will automatically search for nearby Wi-Fi signals.
- Select the appropriate network name (SSID) from the list.
- If you are unable to find your network's name, stand closer to the wireless router and press the Y Button to search again.
- If the network name is greyed out, this indicates the wireless security type being used is not supported by the Nintendo Switch console.
- If you are still unable to find your network, this may indicate an issue with the wireless network environment.
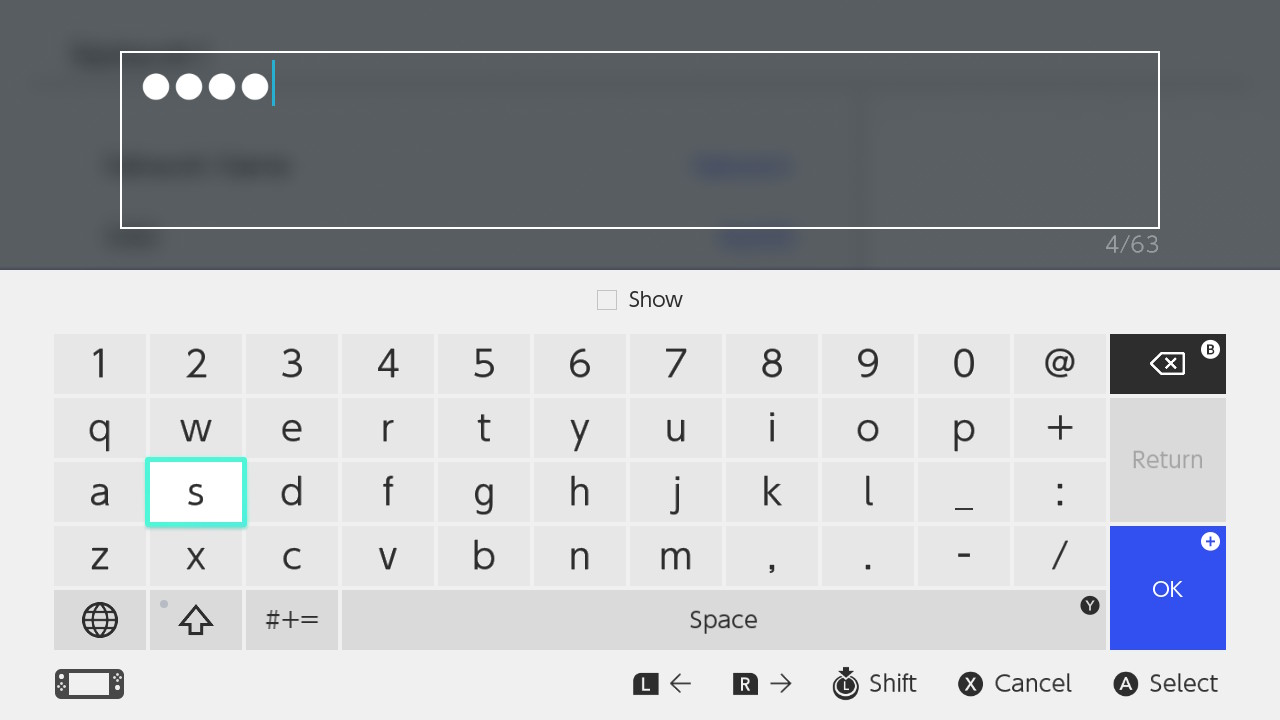
- If prompted, use the on-screen keyboard to enter the network's wireless password.

- The Nintendo Switch console will test the internet connection. Once the test is complete, select "OK" to complete the process.
- If the connection test fails, an error code and message will appear which can help you troubleshoot connection errors.