Connecting using a Nintendo Wi-Fi USB Connector
Support | New Nintendo 2DS XL, New Nintendo 3DS, New Nintendo 3DS XL, Nintendo 2DS, Nintendo 3DS, Nintendo 3DS XL
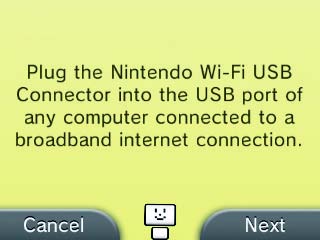
By connecting a Nintendo Wi-Fi USB Connector to the USB port of a computer with a broadband Internet connection, you can use the computer as an access point.

Please note:
- The Nintendo Wi-Fi USB Connector is no longer on sale.
- Before performing the following settings, install the Nintendo Wi-Fi USB Connector Registration Tool on the computer and ready it for use. Refer to the Nintendo Wi-Fi USB Connector Operations Manual for details.
- Your computer must be powered on whenever you want to connect your Nintendo 3DS system to the Internet.
- The Nintendo Wi-Fi USB Connector is compatible with Windows® XP and Windows Vista® operating systems. Click here to download the latest software for the Nintendo Wi-Fi USB Connector.
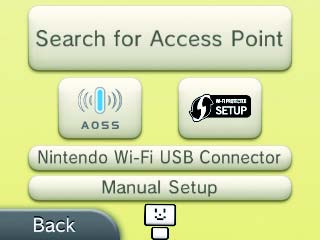
Follow the steps described in the step-by-step description above and tap Manual Setup. Then follow the steps below.
1. Touch NINTENDO WI-FI USB CONNECTOR

2. Confirm that the Nintendo Wi-Fi USB Connector is connected to the PC and touch NEXT.

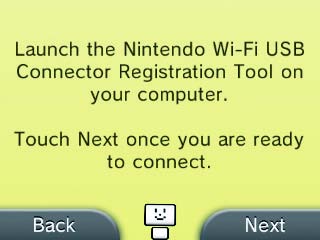
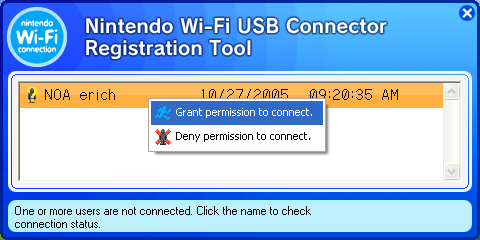
3. On the computer, click on the icon in the notification area of the taskbar. The Nintendo Wi-Fi USB Connector Registration Tool will appear.

4. On your Nintendo 3DS, touch NEXT.

5. On the computer, select the user name of the Nintendo 3DS system from the on-screen list, then select GRANT PERMISSION TO CONNECT from the displayed menu.

6. On your Nintendo 3DS, touch OK to perform a connection test.
- If the test is successful, setup is complete.
- If connection fails and an error appears, follow the information in the error message.